
Installation
How to install a central vacuum
A piped install is a weekend project for a handy homeowner in an unfinished space, and a retrofit is very doable through the attic or basement. Here's the order of work, with the videos we filmed.
Step by step
- Pick the power unit locationA garage, basement or utility room wall, near a standard outlet. The InterVac Pro plugs in with its 6 ft cord. Somewhere with air around it for the exhaust.
- Plan your inletsStand where each inlet would go and picture a 35+ ft hose reaching every corner. Hallways and central walls usually let one inlet serve several rooms. Add a VacPort where you'd reach for a broom.
- Plan the tubing runRun 2 in. tubing the shortest way through the attic, basement or closets. Use sweep elbows and tees, not sharp 90s, so debris keeps moving. Every inlet branches into one main line back to the unit.
- Install the inletsMount each inlet valve on a mounting plate between studs. Run low-voltage wire alongside the tubing to every inlet and VacPort; that wire tells the unit to start.
- Connect the power unitHang the unit on its bracket (surface mount) or in its frame (flush mount). Connect the main line with the hose-to-pipe elbow and the low-voltage wire to the unit.
- Test every inletPlug the hose into each inlet and open each VacPort. The unit should start and stop each time. Check every joint for air leaks before you close the walls.
What you'll need
- A power unit: InterVac Pro, Ultra Pro or Mini Pro
- 2 in. central vacuum tubing (standard size at home centers)
- Inlet valves, mounting plates and fittings for each inlet
- Low-voltage wire to each inlet and VacPort
- VacPorts for kitchens and entries
- A tool kit with a 35+ ft hose
One inlet, one box
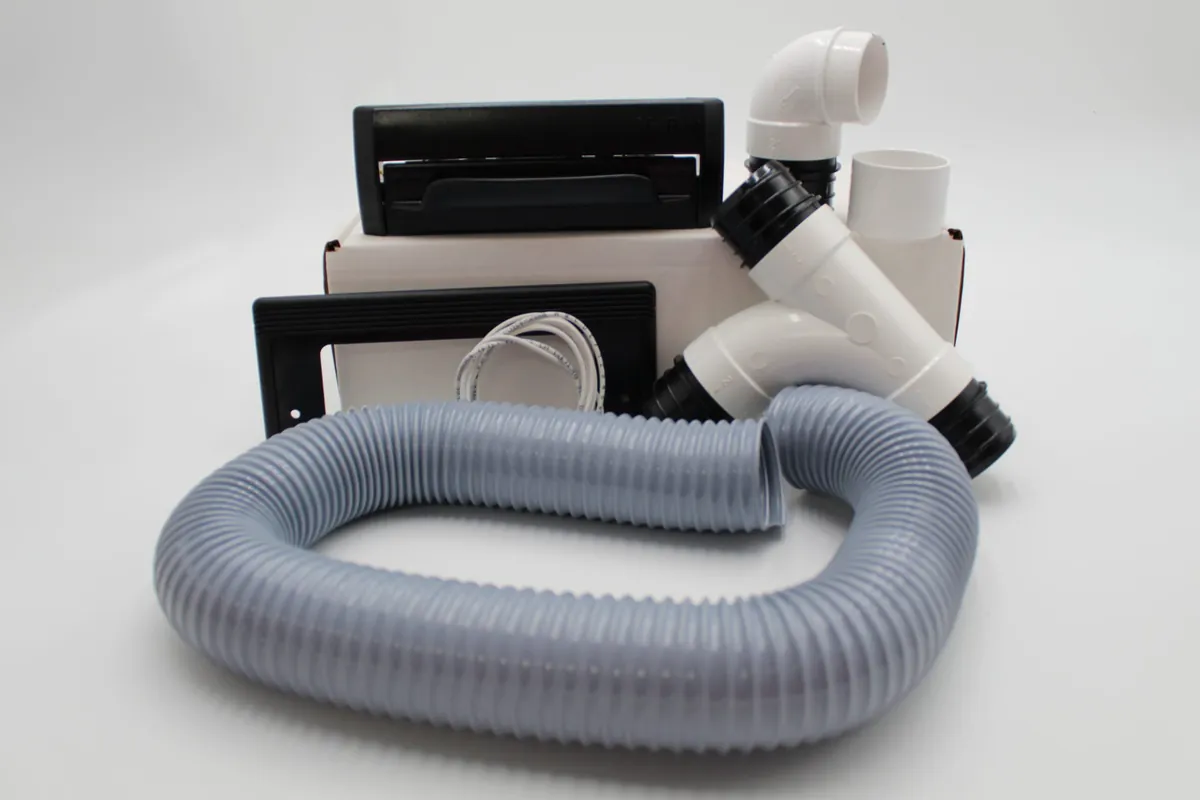
The AF-01 fitting set has an inlet valve, both elbows, two D-900-E couplings, a P-30 coupling and 4 ft of X640 hose.
Add AF-01 to cart, $34.43Installation videos
Watch it done
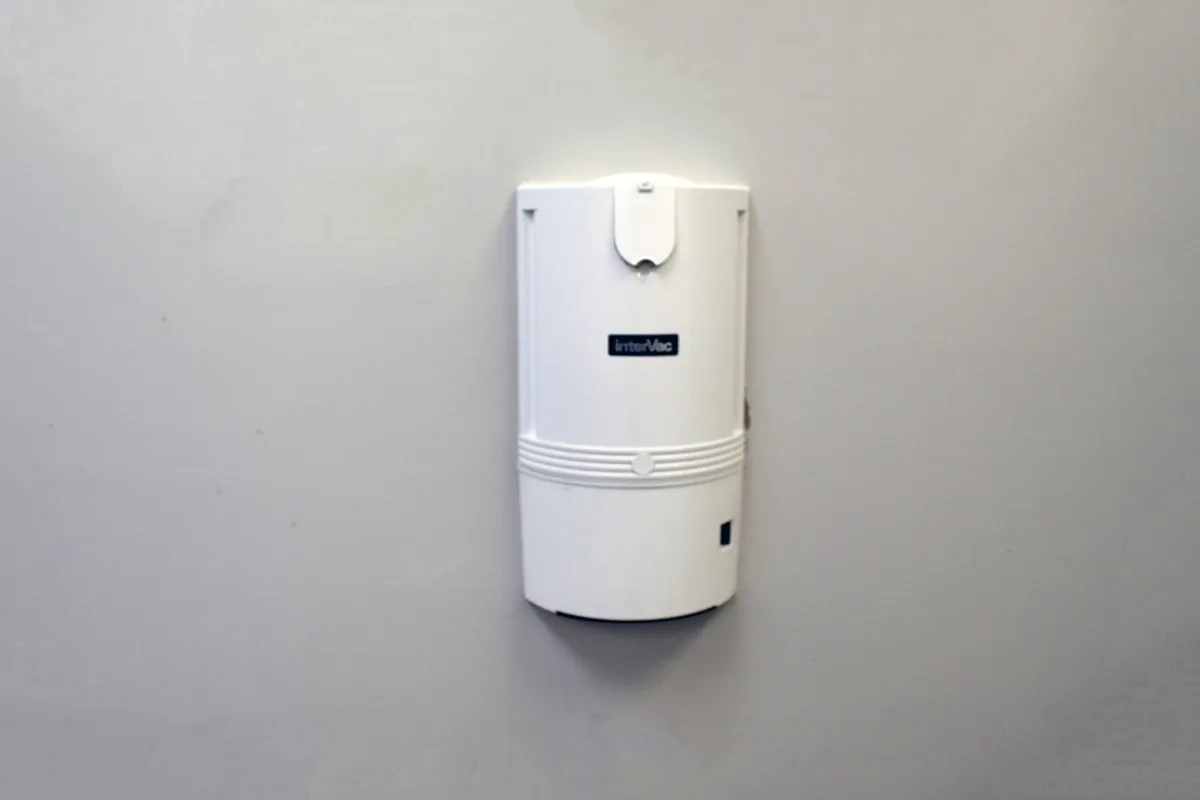
Full home installation with VacPorts and inlet valvesInterVac Pro
Retrofit installation in an officeInterVac Pro
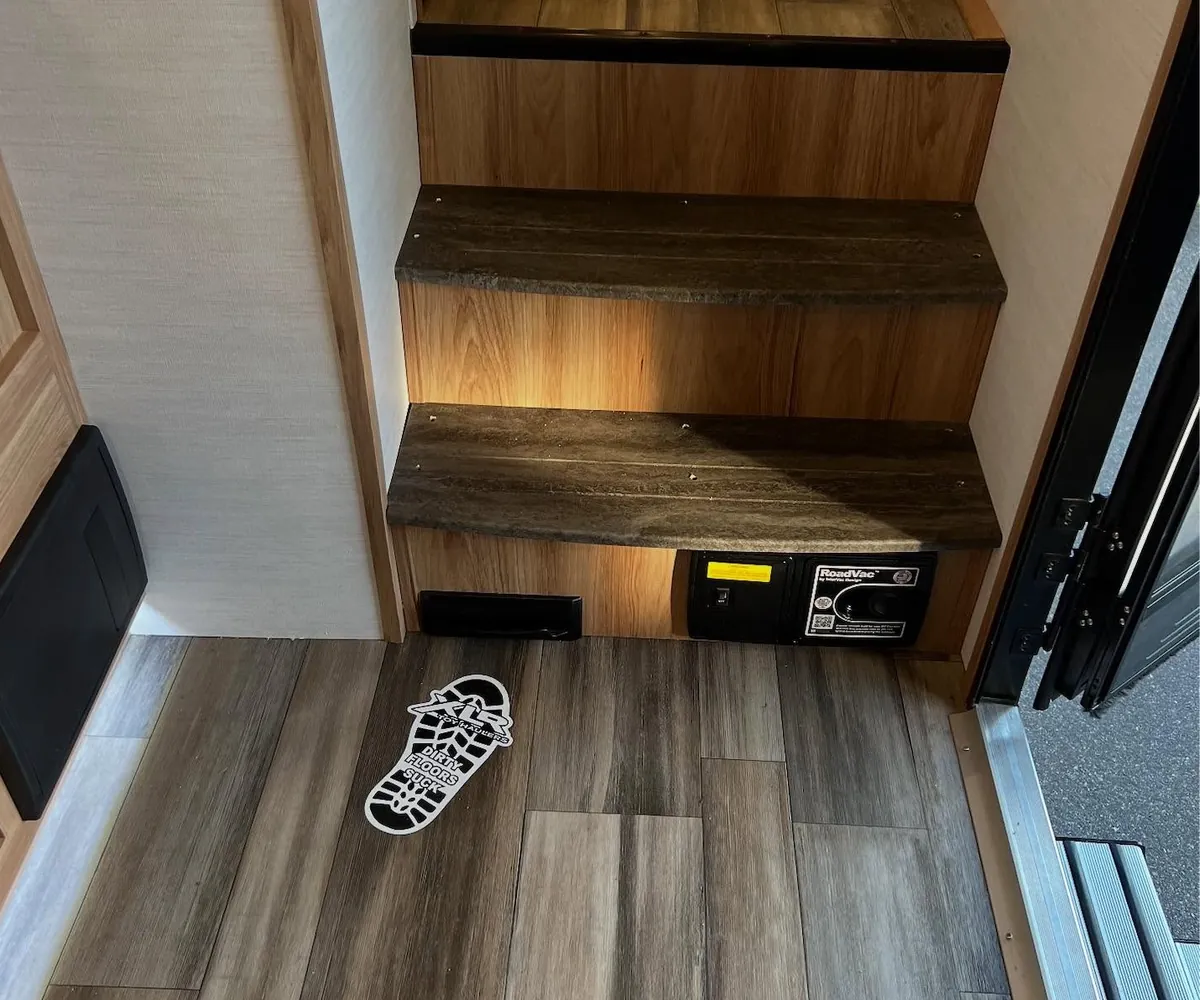
VacPort retrofit in an existing homeVacPort
VacPort installationVacPort
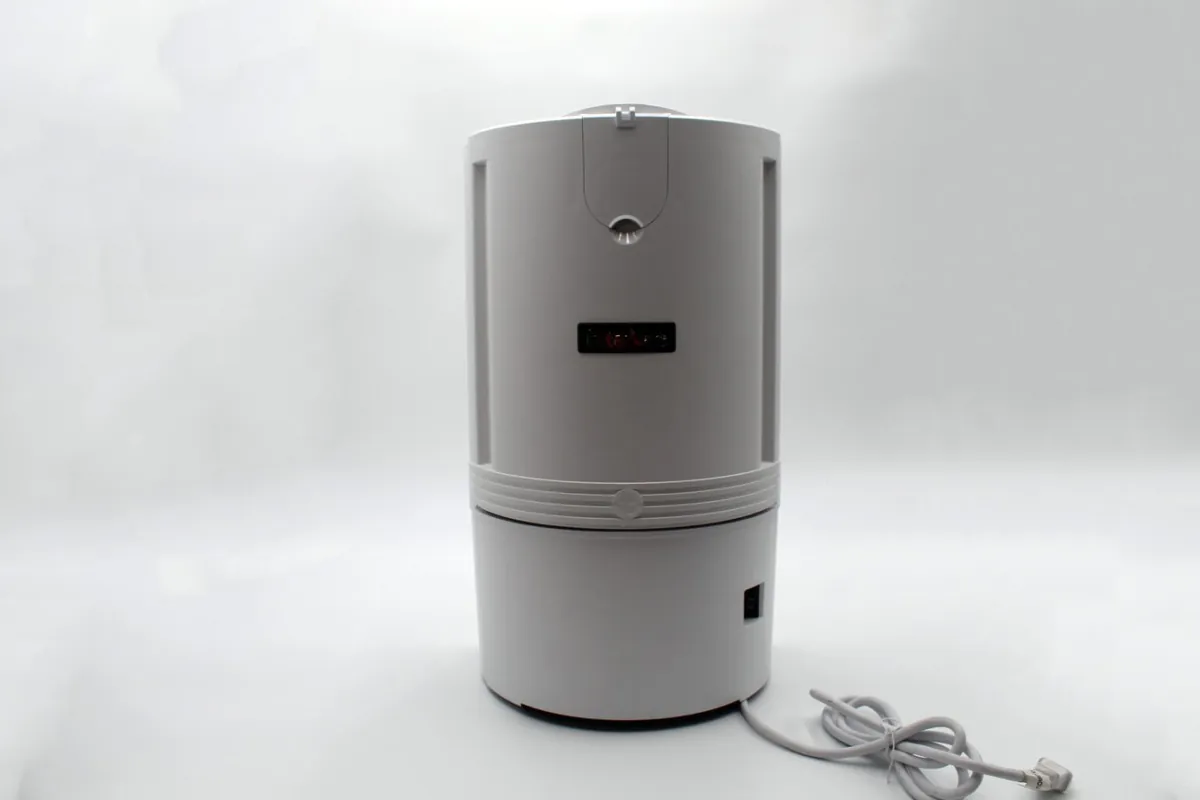
Convert a flush mount to a surface mountInterVac Pro
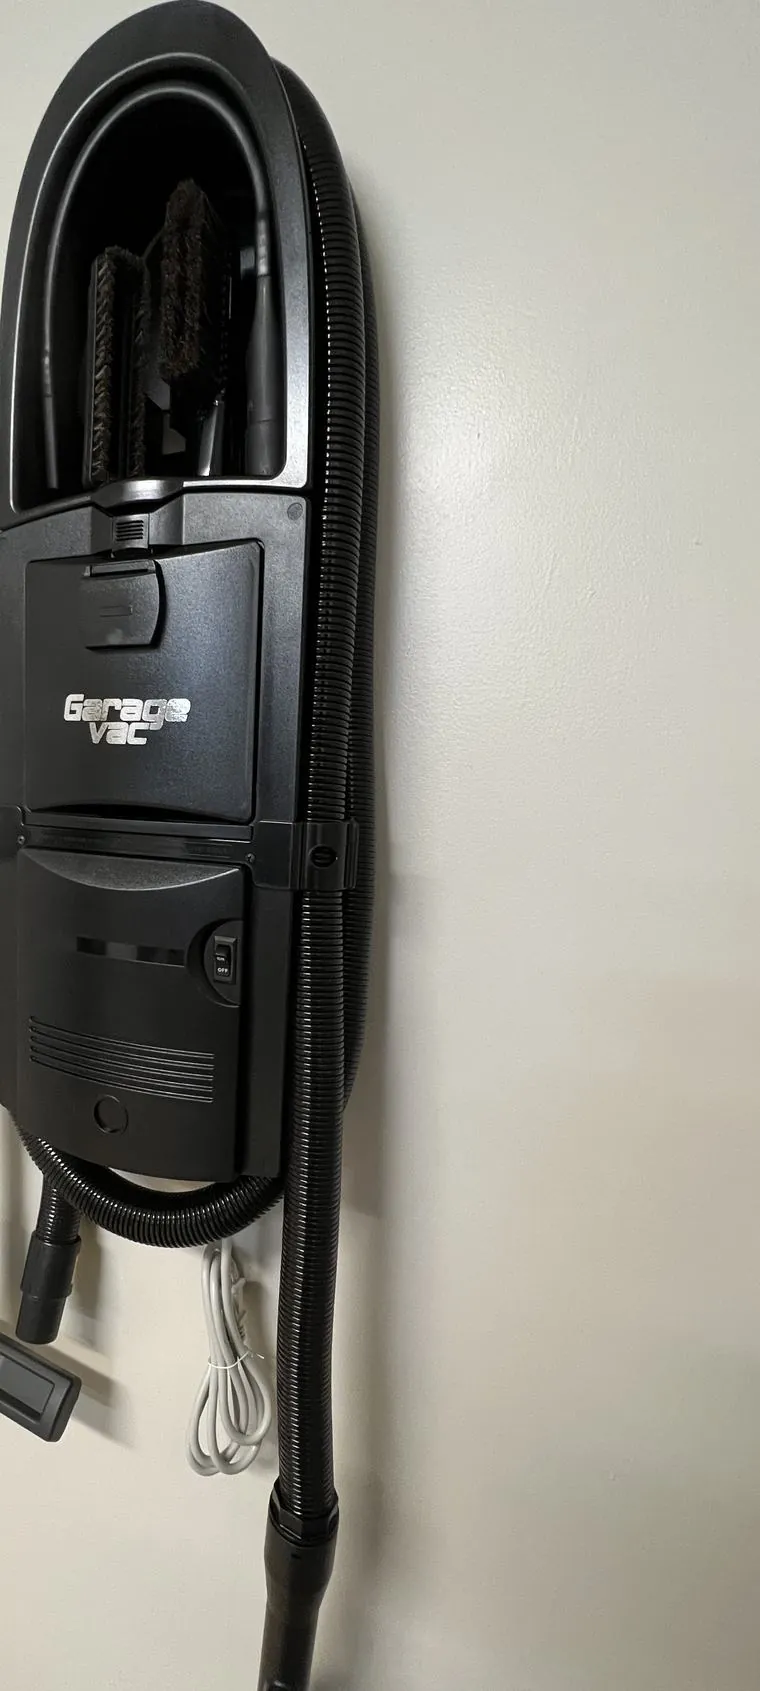
Installation and operationUltraVac (GH120)
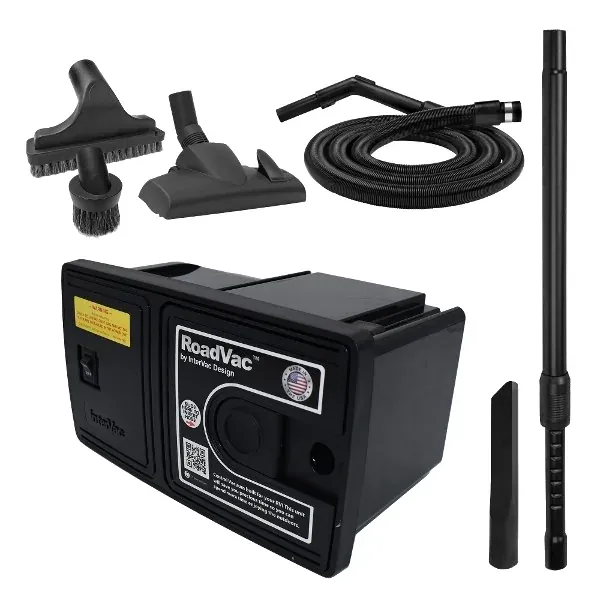
InstallationMini (CS8)
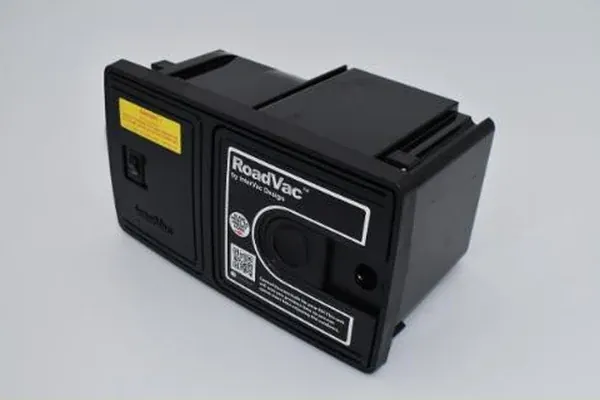
Power unit and VacPort install (shown in an RV; same steps at home)Mini Pro (CS-RM)